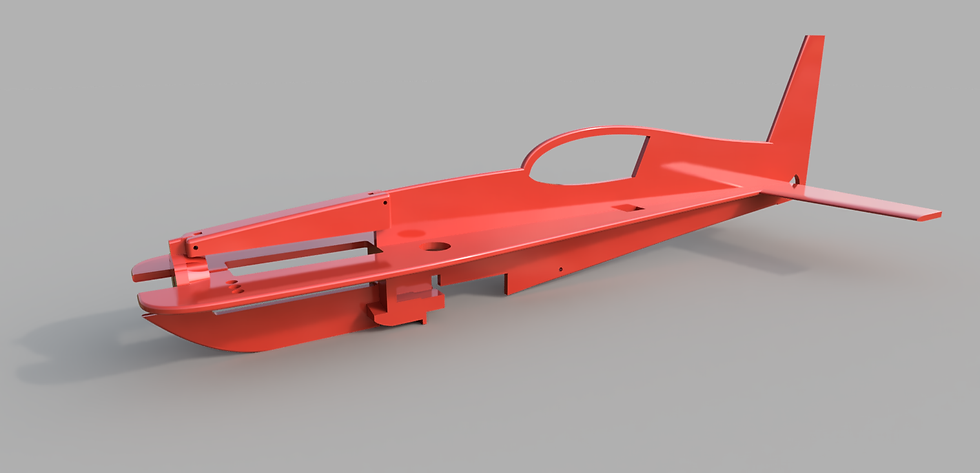
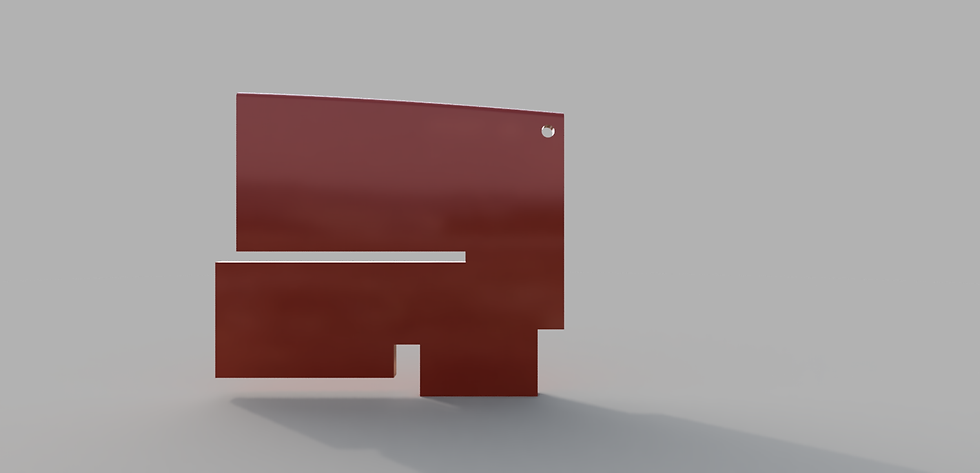
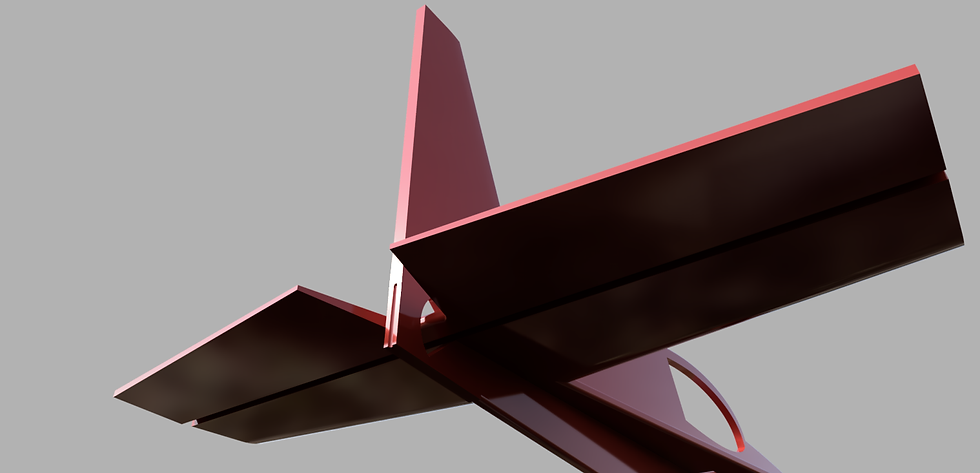
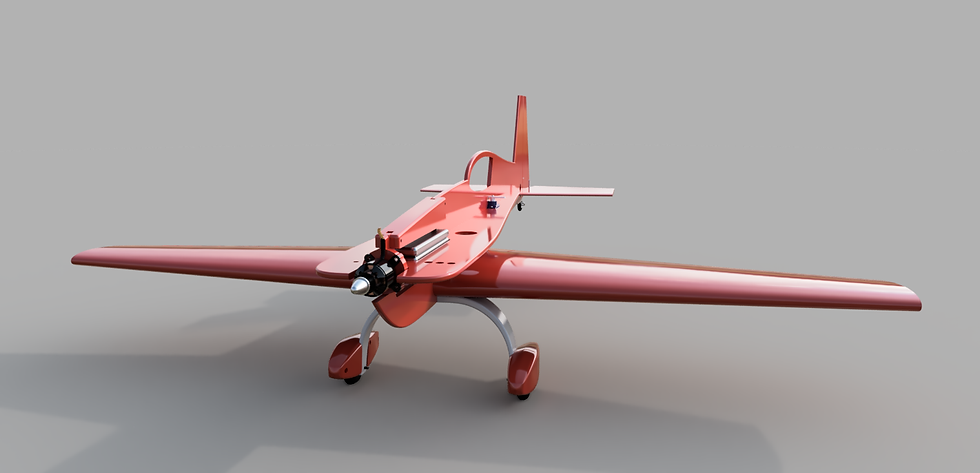
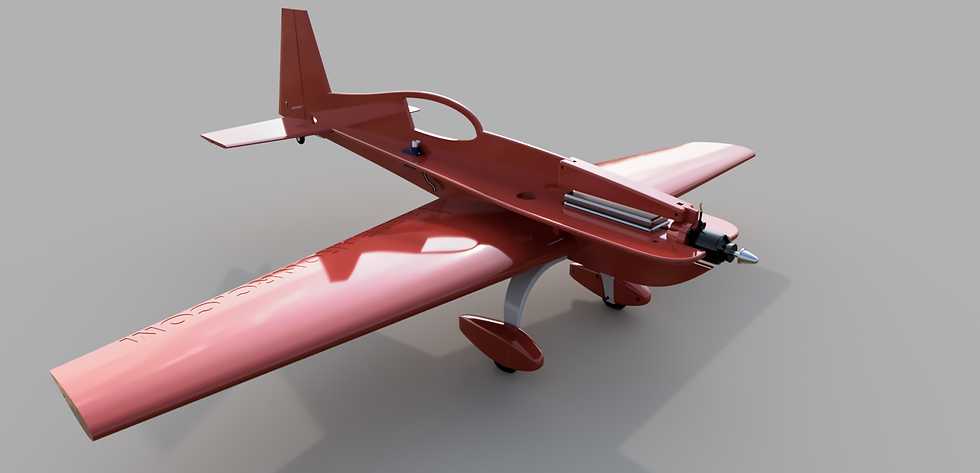
This is the full assembly of the fuselage that you will be creating.
The image below is of it's exploded parts. Use the two images to get your bearings for where each of the parts goes.
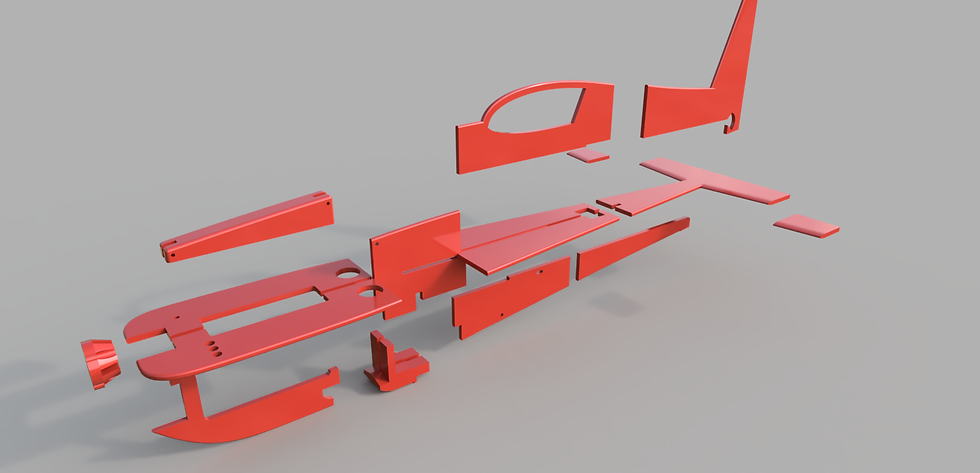
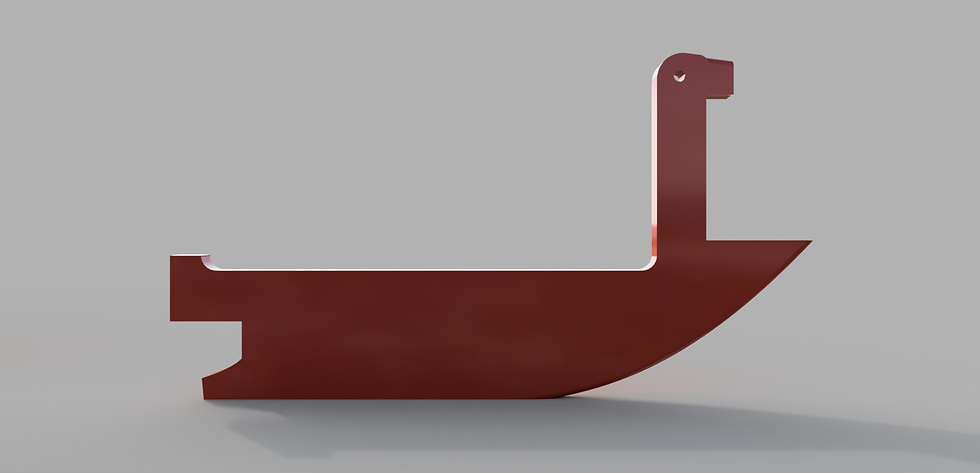
We will start with the landing gear mount because it is basically the heart of this model. Many of the fuselage parts connect to it, as well as the wing main spar and main landing gear.
lgmount.stl:
Print Setting Lightweight pla solidbody80
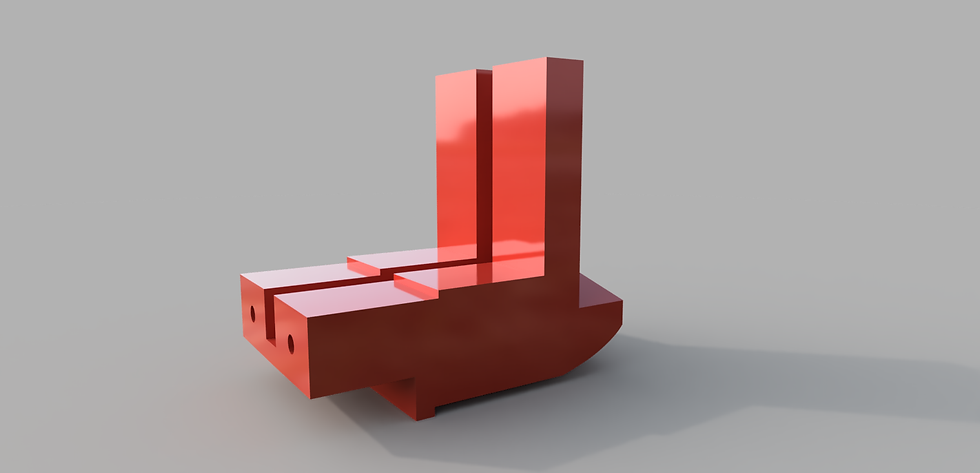
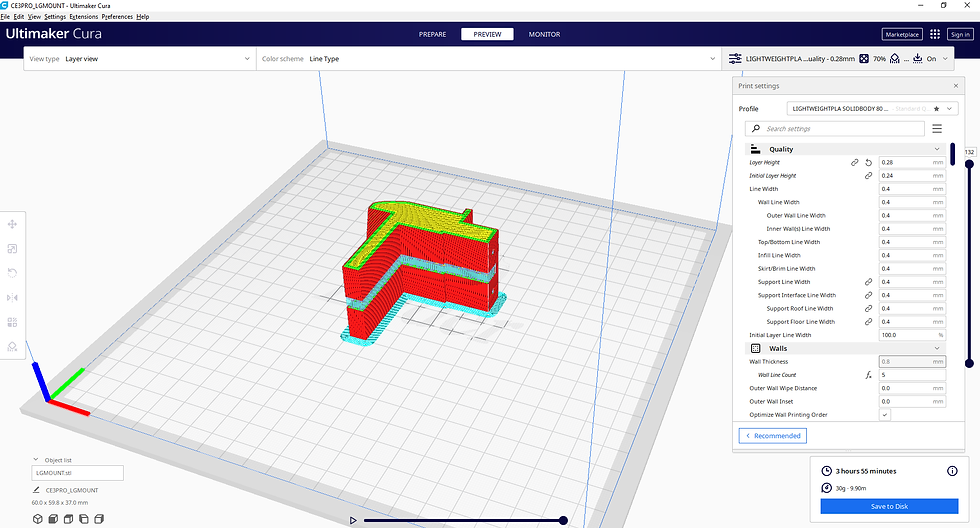
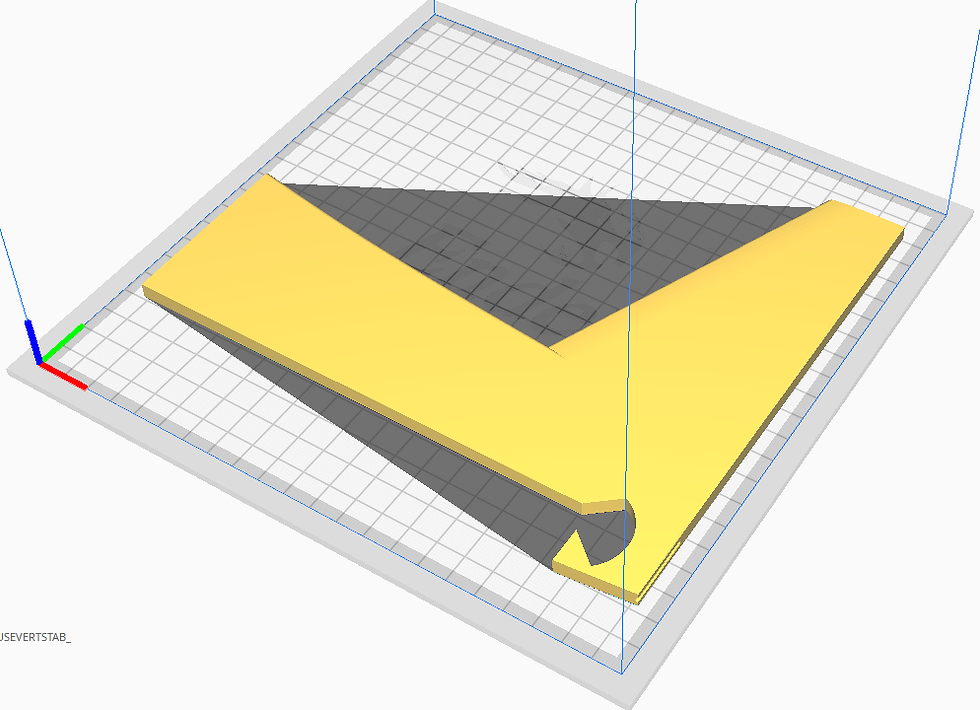
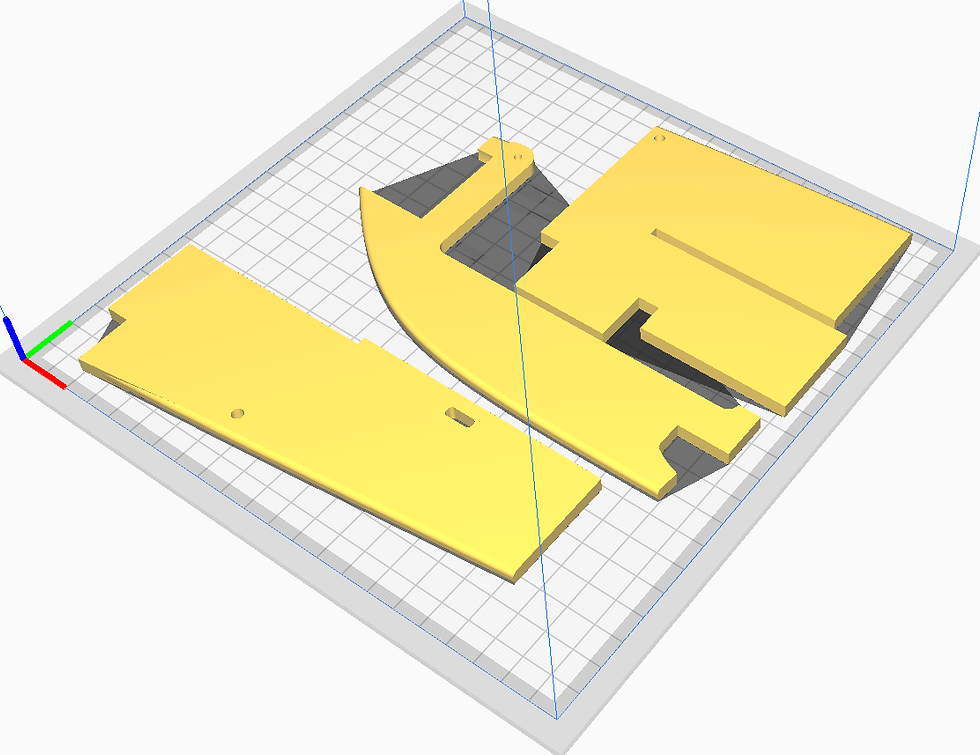
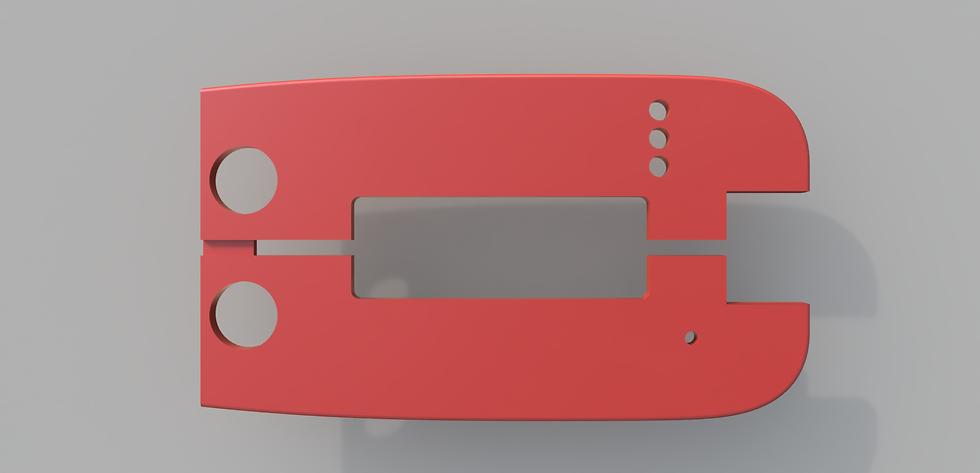
The image below is of the orientation of the "lgmount.stl file on the building plate. I chose this orientation because it creates the strongest printed part.
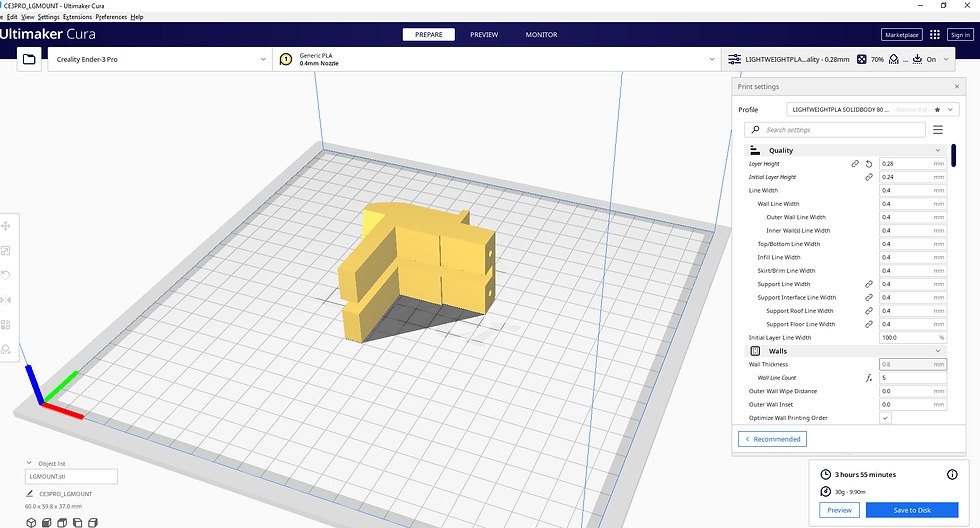
You will notice in the image below how supports will have to be generated between the horizontal layers.
Let's next do the vertical bits
rudder:
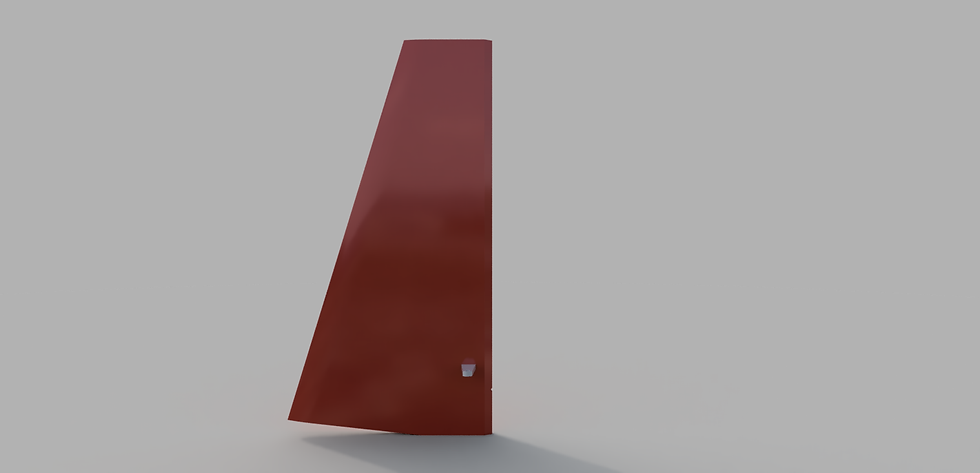
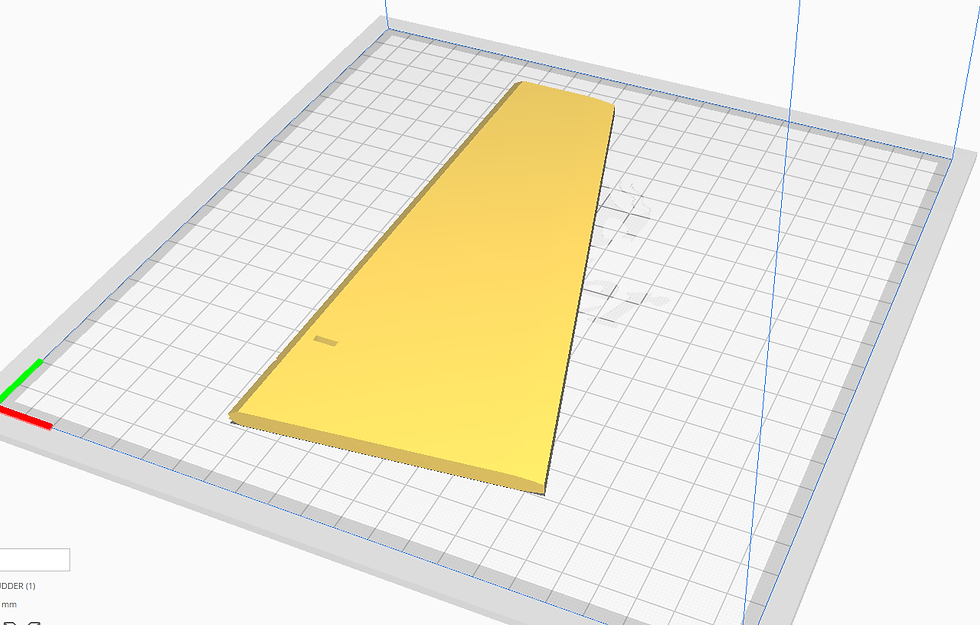
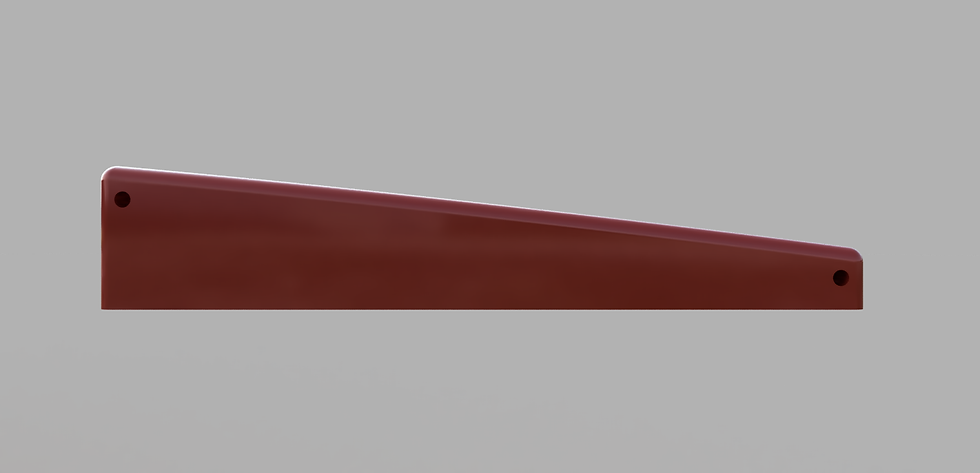
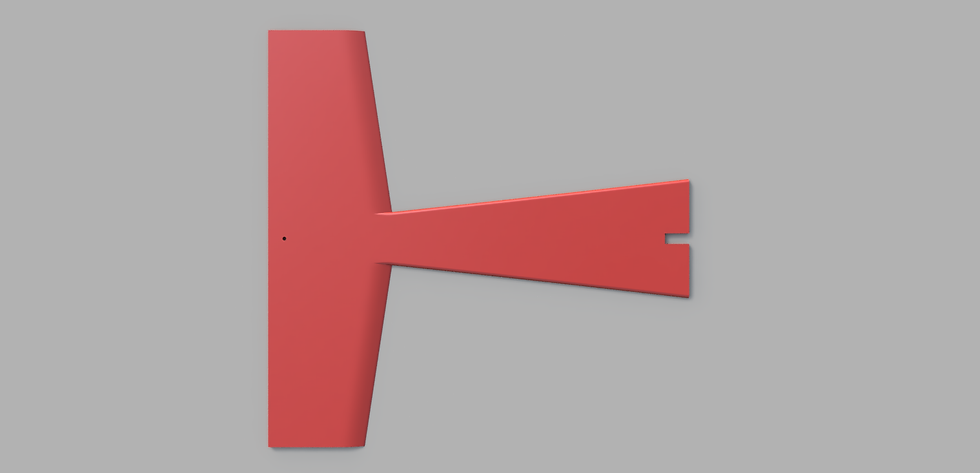
Build plate orientation as below. Because of the taper of the part supports must be turned on.
Fusecanopy:
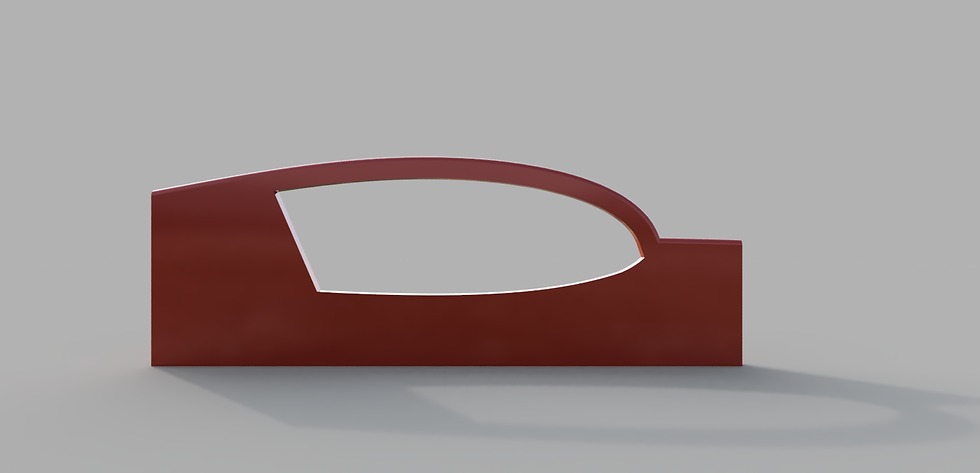
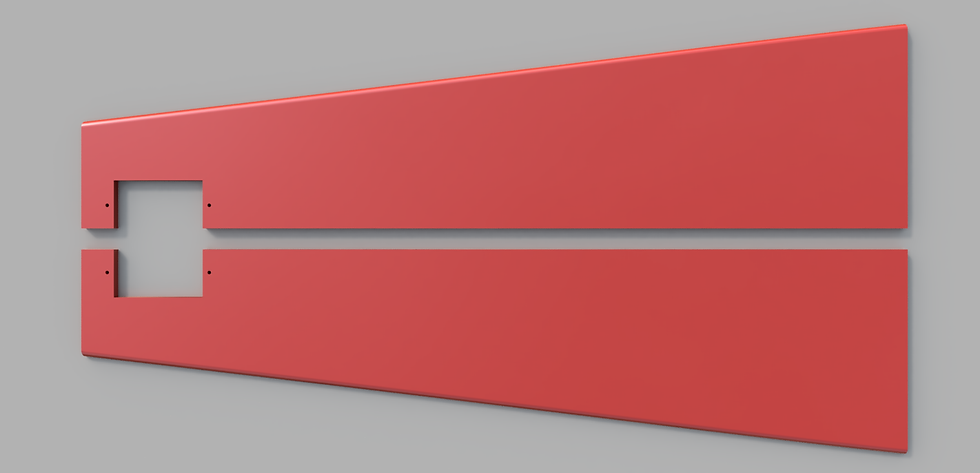
As you can see from the image below, this part is very big, but it will fit on an angle on the print bed.

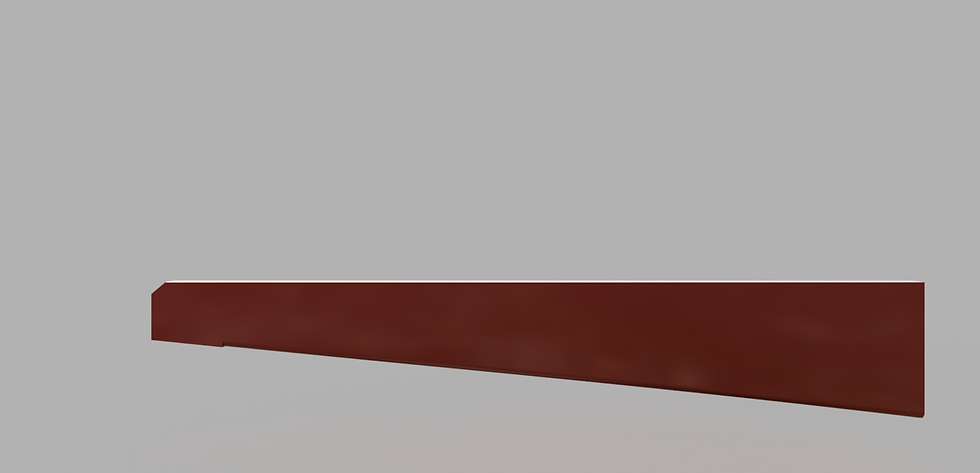
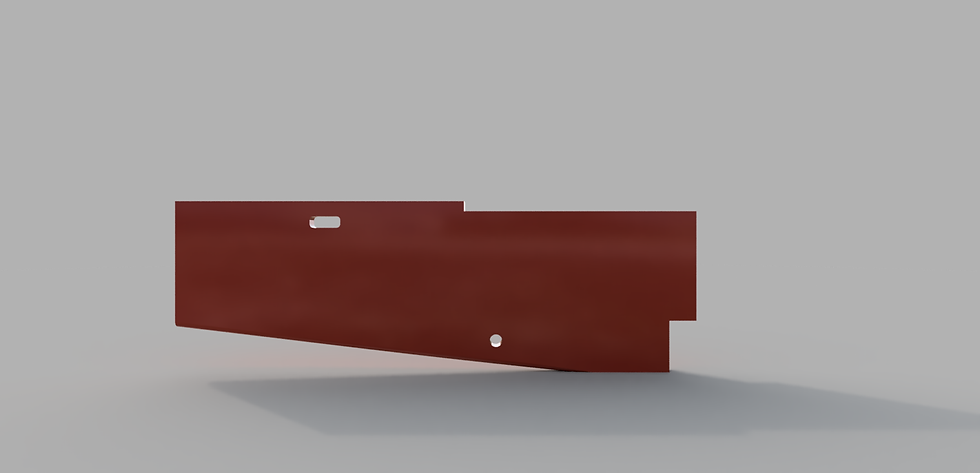
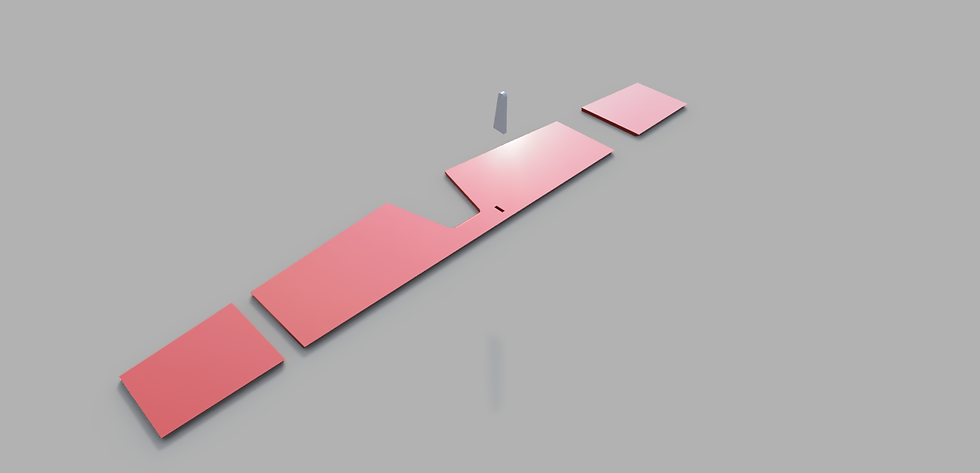
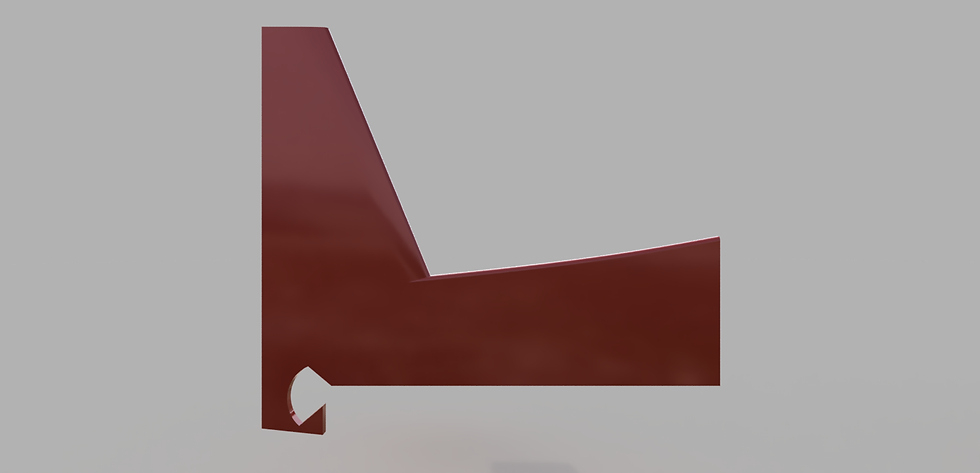
Note about the elevator: It must be inserted into the vertical stabilizer and empennage parts before these two parts can be joined. Don't forget!

Commenti